How to Make Peanut Butter at Home: A Complete Step-by-Step Guide
Peanut butter is a common delicacy that practically everyone enjoys, but not many people consider preparing it at home. Without giving it any thought, the majority of us just pick up a jar from the grocery store and throw it in the cart. However, it’s difficult to return to store-bought peanut butter once you realize how simple, inexpensive, and delectable homemade peanut butter can be.
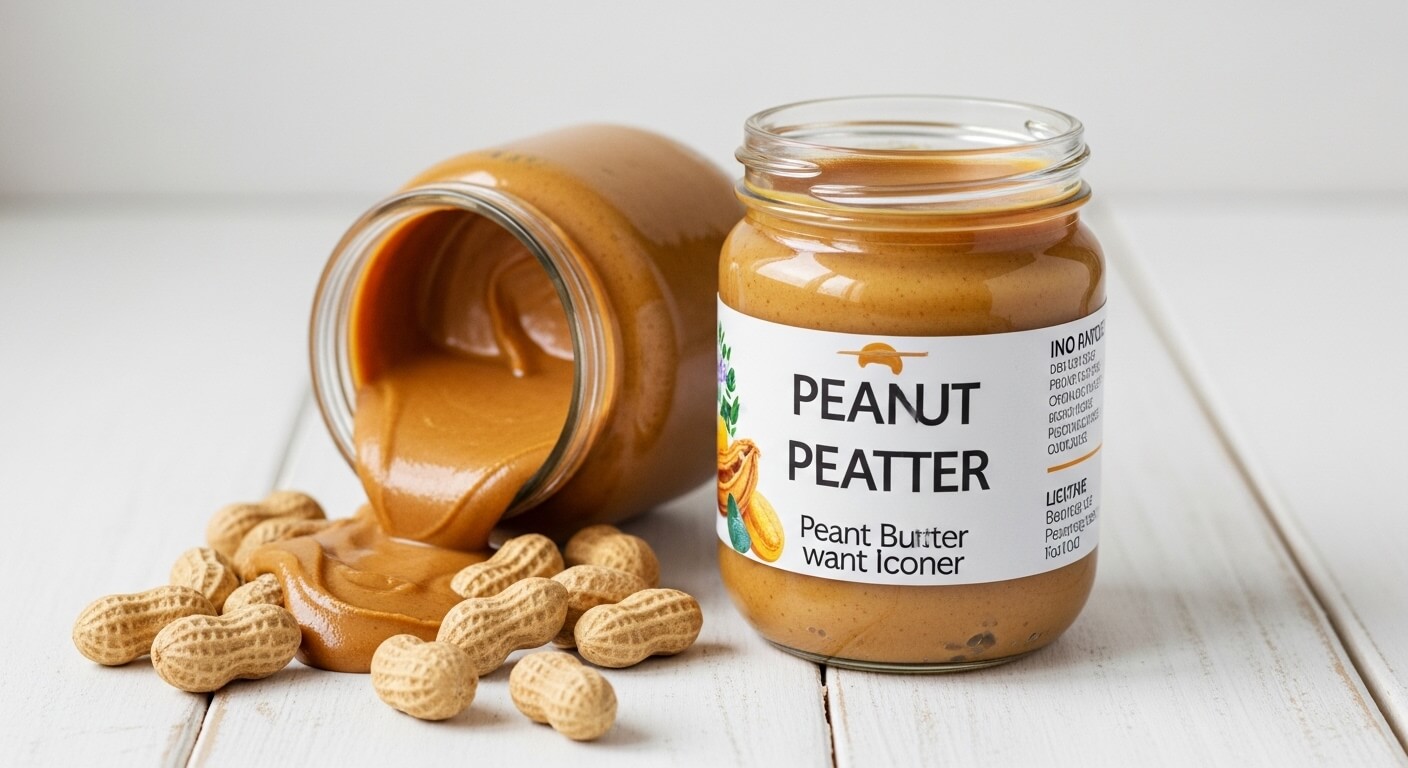
Peanuts are the only item needed to make peanut butter at home. That’s all. No added sweets, artificial flavors, or preservatives unless you specifically request them. The end product is more individualized, creamier, and fresher than anything you can purchase.
Everything from selecting the best peanuts to producing smooth or crunchy textures, taste variations, storage advice, and inventive uses for peanut butter is covered in this comprehensive guide. You’ll feel confident enough to make flawless peanut butter whenever you want by the end.
Why Make Peanut Butter at Home?
Let’s discuss why making your own peanut butter is worthwhile before moving on to the process.
Firstly it’s healthier, to start. To improve flavor and prolong shelf life, many commercial brands include hydrogenated oils, too much salt, and sugar. You have complete control over what goes into homemade peanut butter.
Secondly it tastes better. Pre-packaged items just cannot compare to the rich flavor and warm, nutty aroma of freshly ground peanuts.
Thirdly, it’s economical. Premium natural peanut butter is frequently more expensive per jar than buying peanuts in bulk and blending them yourself.
Lastly, it can be customized. It can have a chocolate flavor, be chunky, sweet, salty, spicy, or even creamy. There are countless options.
Ingredients You’ll Need:
Peanut butter’s simplicity is its beauty.
1. Basic recipe:
2–3 cups roasted peanuts (unsalted or lightly salted)
2. Optional additions:
- ½–1 teaspoon salt
- 1–2 tablespoons honey or maple syrup
- A pinch of sugar
- 1–2 tablespoons peanut oil or neutral oil
- Cinnamon or cocoa powder
Although peanuts are all you actually need, these additives help you get the perfect texture and flavor.
Equipment Required:
You don’t require expensive equipment. The majority of kitchens already have the necessary items.
- Powerful blender or food processor
- Baking tray (for raw peanut roasting)
- A spatula
- Airtight container or jar
Fact: Because it can handle thicker combinations more easily than many blenders, a food processor performs well.
Step-by-Step: How to Make Peanut Butter
Step 1: Choose Your Peanuts
Begin with premium peanuts. You can make use of:
- Raw peanuts that you plan to roast
- Peanuts that have been dry-roasted
- Salted peanuts (after, cut back on the salt)
Suggestion: Purchase raw peanuts and roast them yourself if you want complete control over the flavor.
Step 2: Roast the Peanuts (If Needed)
Roasting improves flavor and facilitates the release of natural oils, which facilitates blending.
- On a baking tray, evenly distribute the peanuts.
- Roast for 10 to 15 minutes at 350°F (175°C).
- To ensure even roasting, stir them halfway through.
- They should appear a little darker and have a pleasant scent.
Suggestion: Don’t wait too long; warm peanuts combine better. Allow them to cool for 5 to 10 minutes.
Step 3: Blend the Peanuts
Start your food processor and add the peanuts. This is a patient portion.
This is what you will observe:
- Peanuts turn to crumbs in the first minute.
- Second minute: the paste becomes clumpy and dry.
- Third minute: dough that is sticky and thick
- Between minutes four and five, smooth, creamy peanut butter emerges.
At first, it can seem like it won’t work, but persevere. The natural oils released by the peanuts turn the combination into butter. Every so often, pause to scrape down the sides.
Step 4: Adjust Texture

- Add a teaspoon of peanut oil or neutral oil and combine again if your peanut butter seems too thick.
- It becomes smoother and easier to spread as a result.
- Before blending, take out a handful of chopped peanuts for crisp peanut butter.
- When the butter is creamy, stir them back in.
Step 5: Season to Taste
- Add honey, salt, or any other flavorings you like once it’s creamy.
- Blend just long enough to blend.
To get it just right for you, taste and adjust.
Creamy vs Crunchy Peanut Butter
The beginning of both versions is the same. The final step makes a difference.
To make it creamy, blend until it’s silky and perfectly smooth.
To Make it Crunchy: Blend and then add crushed toasted peanuts for crunch. This adds a pleasing texture and bite.
Personal Opinion: Some prefer a combination of the two, primarily smooth with little bits.
Flavor Variations to Try at Home for Peanut Butter:
Making your own peanut butter is like starting from scratch. Here are some enjoyable concepts to try:
1. Peanut butter with honey:
- For natural sweetness, add 1-2 teaspoons of honey.
2. Peanut butter with chocolate:
- Add a small amount of sugar or maple syrup and cocoa powder and blend.
3. Spiced cinnamon:
- For a toasty taste, add a touch of salt and cinnamon.
4. Vanilla maple:
- Add a drop of vanilla essence to maple syrup.
5. Peanut butter with spice:
- For spiciness, add cayenne or chili flakes.
6. Peanut butter made with coconut:
- For a tropical twist, blend with coconut oil or shredded coconut.
Small batches should be tried until a favorite is found.
Tips for Perfect Peanut Butter Every Time:
1. Make use of heated peanuts:
- They produce smoother butter and mix more quickly.
2. Do not hurry the procedure:
- It takes time to blend. Have patience.
3. Scrape often:
- This guarantees uniform mixing.
4. Do not overfill:
- If required, work in bunches.
As you go, taste gradually changes.
How to Store Homemade Peanut Butter?
Storage is important because it doesn’t include any preservatives.
Room temperature: approximately one to two weeks
Refrigerator: up to two months of life
Suggestions:
- To avoid contamination, use a clean spoon at all times.
- Separation of natural oils is common. Before using, simply stir.
- To soften it, leave it out in the refrigerator for a few minutes.
Nutritional Benefits of Peanut Butter:
Peanut butter isn’t just tasty — it’s nutritious too.
It’s packed with:
- Protein
- Healthy fats
- Fiber
- Vitamin E
- Magnesium
- Potassium
It keeps you full for hours and gives you sustained energy. This is why busy people and athletes adore it.
Suggestion: Just keep moderation in mind. Since peanut butter contains a lot of calories, two teaspoons is usually sufficient.
Common Mistakes to Avoid:
1. Making use of old peanuts:
- The taste of stale peanuts is unpleasant.
2. Excessive oil addition:
- You can always add more, so start modestly.
3. Stopping the Merging too Soon:
- Have faith in the process; it will work itself out.
4. Too much sweetening:
- An excessive amount of sugar masks the natural peanut flavor.
Creative Ways to Use Peanut Butter:
You’ll want to use it everywhere when you’ve created your own.
- Spread on sandwiches or toast.
- Add to smoothies.
- Pour over oatmeal.
- Bake into brownies or cookies.
- Add to noodles’ sauces
- Add to yogurt.
- Dip bananas or apples.
- Prepare energy balls with peanut butter.
It is quite adaptable.
Cost Comparison: Homemade vs Store-Bought
It’s usually less expensive to make peanut butter at home.
Generally speaking, a bag of peanuts is less expensive than a jar of natural peanut butter. You can make several jars from a single bag. Additionally, you save money on branding and packaging. Making your own peanut butter fast saves money if you eat it frequently.
Can I make peanut butter with raw peanuts?
Yes, but toasting them beforehand enhances flavor and facilitates blending.
Can I freeze peanut butter?
Indeed, freezing prolongs shelf life for a few months without compromising flavor.
What’s the best way to store it?
For extended freshness, store it in an airtight jar in a cold location or in the refrigerator.
Can I sweeten peanut butter naturally?
Yes, you can add dates, honey, or maple syrup for natural sweetness.
Final Thoughts:
One of the simplest cooking skills to learn is how to make peanut butter at home. You can make a fresh, healthy spread with just peanuts and a food processor that tastes richer and more natural than anything you’ll find in the shop.
You have total control over whether you want your peanut butter to be sweet or salty, smooth and silky or crunchy and textured. It’s less expensive, healthier, and surprisingly enjoyable to create.