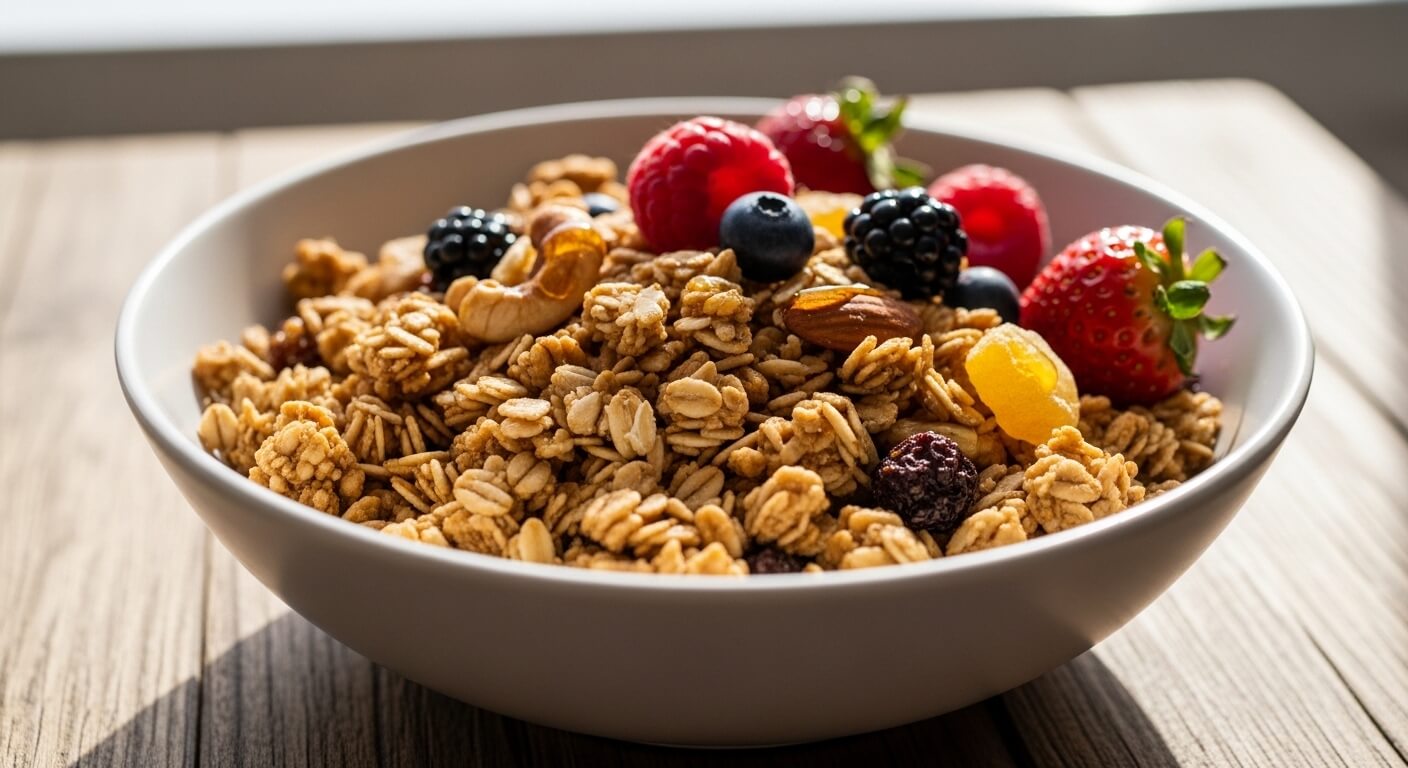
How to Make Granola (Crispy, Healthy & Homemade From Scratch)
Granola is one of those foods that simultaneously seems upscale, nutritious, and cozy. Every grocery store aisle is lined with packages that claim to be “organic,” “high in protein,” or “low in sugar.” The reality is that most store-bought granola is costly and frequently contains unidentified sugars and fats.
The good news? The process of making granola at home is really easy. All you need is one baking tray, a few cupboard items, and roughly half an hour. Granola produced at home has more flavor, crunch, and freshness than store-bought varieties, and you have complete control over the ingredients.
After making it yourself, you won’t ever use store-bought again. Ingredients, detailed directions, expert suggestions for crunchy clusters, flavor variants, storage tips, and nutritious additions are all included in this comprehensive guide. Let’s begin.
Why Make Granola at Home?
Here’s why handmade is always preferable before we go into the recipe:
1. You save money:
Making your own granola is often less expensive than buying store-bought granola.
2. The sugar is under your control:
Granola in most packages is more appropriate for dessert than breakfast.
3. You make better ingredient choices:
No artificial flavors, strange oils, or preservatives.
4. It is adaptable:
Chocolate? Coconut? Extra nuts? It is all up to you.
5. It has a crispier, fresher flavor:
Warm granola right out of the oven is the best.
Basic Ingredients for Granola:
Granola’s versatility is what makes it so lovely. But a few basic ingredients are the foundation of any fantastic batch.
1. Dry Base:
- Rolled oats (old-fashioned oats)
- Nuts (almonds, cashews, walnuts, pecans)
- Seeds (sunflower, pumpkin, chia, flax)
- Salt
- Cinnamon (optional)
2. Wet Ingredients:
- Honey or maple syrup
- Oil (coconut oil or olive oil)
- Vanilla extract
3. Mix-ins (after baking):
- Dried fruits
- Chocolate chips
- Coconut flakes
- Peanut butter chips
Step-by-Step: How to Make Granola
You will always get the ideal crunchy granola if you follow these easy steps.
Step 1: Preheat Your Oven
- Preheat the oven to 325°F, or 160°C.
- Granola toast can be baked slowly and evenly without burning.
Suggestion: To make cleanup easier, line a baking tray with parchment paper.
Step 2: Mix the Dry Ingredients
In a large bowl, combine:
- 3 cups rolled oats
- 1 cup mixed nuts (chopped)
- ½ cup seeds
- ½ tsp salt
- 1 tsp cinnamon
Stir everything together so it’s evenly distributed.
Step 3: Prepare the Wet Mixture

Warm the following in a microwave-safe bowl or small saucepan:
- 1/4 cup maple syrup or honey
- Three tablespoons of coconut oil
- One teaspoon of vanilla
- Heat until smooth and melted.
This blend contributes to the enticing clusters and golden crunch.
Step 4: Combine Everything
- Cover the oat mixture with the wet ingredients.
- Stir until all the oats appear to be gently coated.
- This is a crucial step because uneven baking results from uneven coating.
Step 5: Spread on Tray
- evenly distribute the mixture onto your baking tray.
- Using a spatula, carefully press it down.
Point: Pressing makes the crunchy clusters larger.
Step 6: Bake
- Bake, stirring once halfway through, for 20 to 25 minutes.
- Pay close attention at the conclusion. Granola quickly turns from golden to burned.
It should smell nutty and have a little toasted appearance.
Step 7: Cool Completely
- Most people overlook this crucial step.
- Don’t stir right away.
- On the tray, let the granola cool completely.
- It solidifies into crunchy clusters when it cools.
Step 8: Add Mix-ins
Once cool, break into pieces and mix in:
- Raisins
- Cranberries
- Chocolate chips
- Coconut flakes
- Dried mango
Now it’s ready to enjoy!
Pro Tips for Perfect Crunchy Granola:
These tips come in quite handy if you enjoy large clusters and crisp texture.
1. Avoid stirring too much:
Clusters are broken by excessive stirring. During baking, stir just once.
2. Press the blend:
Before baking, firmly flatten it.
3. Add enough sweetness:
Everything is bound together by honey or syrup.
4. Allow it to cool completely:
Instead of baking, crunch develops during cooling.
5. Slowly bake:
The exterior gets burned by high heat before the interior crisps.
Healthy Flavor Variations:
Making new tastes whenever you want is one of the best things about learning how to make granola.
1. Granola with peanut butter:
Incorporate two tablespoons of peanut butter into the mixture.
2. Granola with chocolate:
Before baking, add the cocoa powder; once cooled, add the chocolate chips.
3. Almonds from coconuts:
Add sliced almonds and coconut shreds.
4. Cinnamon Apple:
Add more cinnamon and dried apples.
5. Granola with Protein:
Add additional seeds or protein powder and stir.
6. Tropical:
Make use of mango, pineapple, and coconut.
7. Spiced pumpkin:
Add the pumpkin spice blend and pumpkin puree.
Ways to Eat Granola:
Granola isn’t just for cereal bowls.
Here are delicious ideas:
- With milk like cereal
- On top of yogurt
- Smoothie bowl topping
- Sprinkle over oatmeal
- Add to fruit salad
- Trail mix
- Energy bars
- Ice cream topping
- Snack straight from the jar
It’s incredibly versatile.
Is Homemade Granola Healthy?
Yes, when done correctly. Granola produced at home is:
- Rich in fiber
- Rich in protein, full of good fats, free of preservatives, and lower in sugar than store-brand products
Keep in Mind: Granola is high in calories. A tiny amount makes a big difference and doesn’t exceed ½ cup each serving.
Storage Tips for Granola:
Your granola stays crunchy and fresh when stored properly.
1. Room Temperature:
Store in an airtight jar for 2–3 weeks.
2. Refrigerator:
Lasts about 1 month.
3. Freezer:
Up to 3 months.
Suggestion: Always keep moisture out to avoid sogginess.
Common Mistakes to Avoid:
There are dangers in even easy recipes.
Setting it on fire: Reduce the temperature and continue to monitor.
Too sweet: Cut back on honey or syrup.
Not crunchy: Continue baking and let it cool fully.
Too parched: A bit more oil or syrup should be added.
Fruit addition prior to baking: It’s going to burn. Always come after
Budget-Friendly Tips:
Making granola at home is already cheaper, but you can save even more:
- Buy oats in bulk
- Use seasonal nuts
- Skip expensive superfoods
- Make large batches
- Store properly
One big batch can last your family for weeks.
Simple Classic Granola Recipe:
Here’s everything summarized:
1. Ingredients:
- 3 cups oats
- 1 cup nuts
- ½ cup seeds
- ⅓ cup honey/maple
- 3 tbsp oil
- 1 tsp vanilla
- Salt & cinnamon
2. Instructions:
- Mix dry
- Warm wet
- Combine
- Spread
- Bake 25 min
- Cool
- Add mix-ins
Done
Can I make granola without honey?
Yes, you can substitute date syrup, agave syrup, or maple syrup for honey.
Why is my homemade granola not crunchy?
To crisp up, it probably needs more baking time or cooling time.
Do I need oil for granola?
Although oil contributes to the crisp texture, you can use less of it or substitute applesauce or nut butter.
How long does homemade granola last?
If stored at room temperature in an airtight container, it will remain fresh for two to three weeks.
Can granola be gluten-free?
Yes, just use certified gluten-free oats.
What nuts work best for granola?
Almonds, walnuts, pecans, cashews, and peanuts all work well.
Can kids eat homemade granola?
When cooked with less sugar, it is indeed a healthy snack for children.
Final Thoughts:
One of the simplest cooking skills to learn is how to make granola. It tastes much better than anything packaged, is inexpensive, healthful, and infinitely adaptable.
Warm, golden, and delightfully crunchy, homemade granola will make you question why you ever purchased it from a shop.
This week, make one batch. Try different flavors. Discover the combo that you like most. And savor a nutritious, filling, and entirely homemade breakfast.