How to Make Chocolate at Home Complete Step-by-Step Guide
One of the most popular sweets in the world is chocolate. People like it in a variety of ways because it’s rich, silky, and pleasant. But did you know that minimal ingredients and equipment may be used to produce chocolate at home? This book covers everything in an understandable and useful manner, whether you’re looking for a quick handmade version or a deeper grasp of how chocolate is manufactured.
Understanding Chocolate Basics:
Cocoa, which is derived from cocoa beans, is used to make chocolate. Cocoa butter and cocoa solids are made from these beans. They create several kinds of chocolate when mixed with sugar and occasionally milk.
Main Types of Chocolate:
- Dark chocolate – Made with cocoa solids, cocoa butter, and sugar
- Milk chocolate – Includes milk powder for a creamy texture
- White chocolate – Made from cocoa butter, sugar, and milk (no cocoa solids)
For simpler preparation, you’ll typically use cocoa powder or premade chocolate at home.
Ingredients You’ll Need:
For a simple homemade chocolate recipe, gather the following:
- ½ cup cocoa powder
- ½ cup powdered sugar
- ¼ cup butter or coconut oil
- ¼ cup milk (optional for creaminess)
- 1 teaspoon vanilla extract
You can adjust sweetness and richness based on your taste.
Tools Required:
- Mixing bowl
- Saucepan (for double boiler method)
- Whisk or spatula
- Chocolate molds or tray
- Refrigerator
No fancy equipment is needed, which makes this process beginner-friendly.
Different Methods to Make Chocolate:
Method 1: Simple Homemade Chocolate Using Cocoa Powder
The simplest method for making chocolate at home is this one.
1. Let the butter melt:
- Using a double boiler method, melt butter or coconut oil in a bowl over a pan of hot water.
- To avoid burning, stay away from direct heat.
2. Incorporate cocoa powder:
- Once melted, gradually whisk in the chocolate powder.
- To prevent lumps, thoroughly mix.
3. Include sugar:
- Continue blending until smooth after adding the powdered sugar.
4. Include vanilla and milk:
- Add vanilla essence for taste and pour in milk for a softer texture.
5. Thoroughly Mix:
- Continue swirling until the mixture is glossy and smooth.
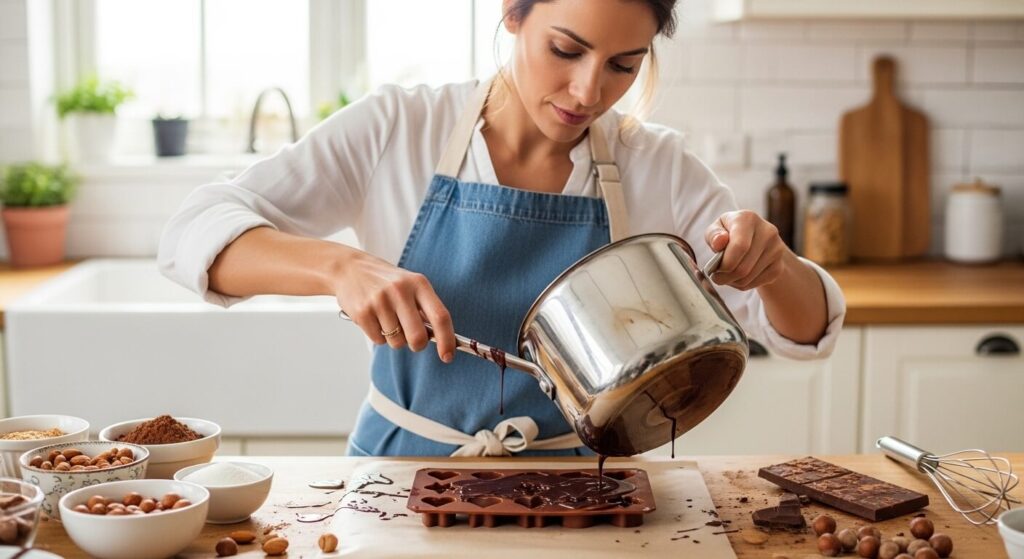
6. Transfer to Molds:
- Fill molds or a lined tray with the mixture.
7. Let the chocolate cool:
- To ensure it sets completely, refrigerate for one to two hours.
8. Take Out and Savor:
- Take your homemade chocolate out of the molds once it has solidified.
Method 2: Making Chocolate Without Milk (Dairy-Free)
If you like chocolate without dairy:
- Use coconut oil instead of butter.
- Use almond milk instead of milk.
- Take the same actions.
For vegan diets, this version is ideal.
Method 3: Using Chocolate Chips or Bars (Tempering Method)
For smoother, more polished chocolate:
Procedure:
- Use a double boiler to gradually melt chocolate.
- Continue to stir
- Allow it to cool a little.
- Fill molds and let them set.
This technique provides improved texture and a glossy finish.
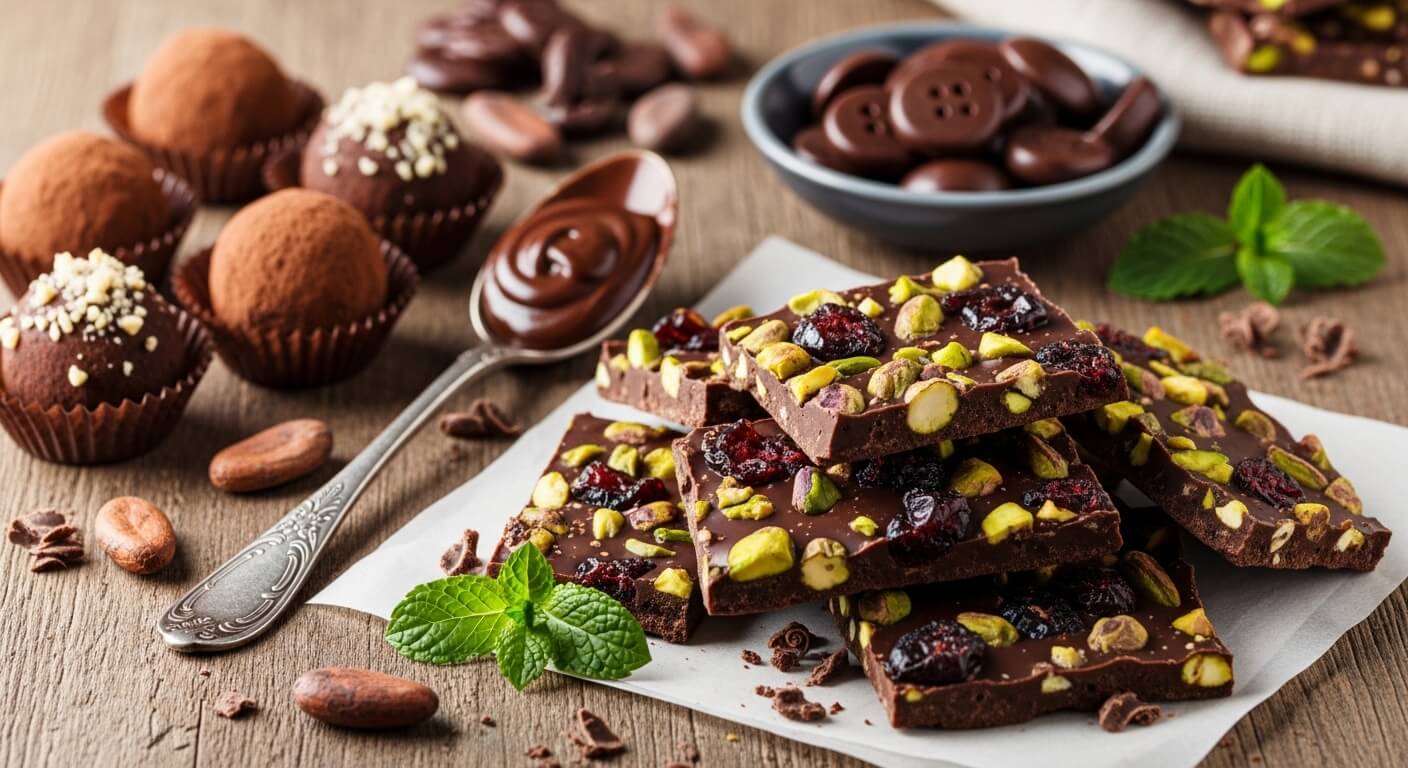
How to Customize Your Chocolate?
One of the best parts of making chocolate at home is customization.
Add-Ins You Can Try:
- Nuts (almonds, peanuts, cashews)
- Dried fruits (raisins, cranberries)
- Coconut flakes
- Caramel pieces
- Crushed biscuits
Mix these into the chocolate before pouring into molds.
Flavor Variations:
It’s simple to make many flavors:
- For mocha chocolate, add coffee powder.
- To add citrus taste, use orange zest.
- For salted chocolate, add a sprinkle of salt.
- Add cinnamon for warmth.
Your chocolate becomes distinctive when you experiment with tastes.
Tips for Perfect Homemade Chocolate:
- For a smooth texture, use fine cocoa powder.
- Ingredients should always be melted over low heat.
- Continue stirring to prevent lumps.
- Adapt the sugar to your taste.
- For simple removal, use silicone molds.
These pointers assist you consistently get superior outcomes.
Common Mistakes to Avoid:
- Overheating chocolate results in a texture that is gritty.
- Adding an excessive amount of liquid
- Inadequate mixing
- Ignoring the refrigeration period
A smooth and delicious outcome is ensured by being cautious with these measures.
How to Store Homemade Chocolate?
- Store in an airtight container.
- In warm areas, keep refrigerated.
- Steer clear of direct sunshine.
- For optimal flavor, consume within one to two weeks.
Your chocolate stays firm and fresh when stored properly.
Is Homemade Chocolate Healthy?
Chocolate prepared at home may be healthier because
- The amount of sugar is under your control.
- No additives or preservatives
- Choosing to employ natural ingredients
It is much healthier when dark cocoa and fewer sugar are used.
Can You Make Chocolate from Cocoa Beans at Home?
Yes, but it’s more complex. It involves:
- Roasting cocoa beans
- Removing shells
- Grinding into cocoa mass
- Mixing with sugar and cocoa butter
This process takes time and special tools, so beginners usually prefer the simpler methods.
Why Is Homemade Chocolate Worth Trying?

Making chocolate at home requires creativity and control in addition to cost savings. You can build something that completely suits your taste by experimenting with flavors and adjusting sweetness.
Families, children, and anyone who appreciates cooking will also find it to be an enjoyable activity.
1. Can I make chocolate without cocoa butter?
Yes, you can use butter or coconut oil as a substitute for cocoa butter.
2. Why is my homemade chocolate not smooth?
It usually happens due to overheating or improper mixing of ingredients.
3. Can I make chocolate without sugar?
Yes, you can use alternatives like honey, jaggery, or sugar substitutes.
4. How long does homemade chocolate take to set?
It usually takes 1–2 hours in the refrigerator to fully harden.
5. Can I use drinking cocoa powder for chocolate?
Yes, but unsweetened cocoa powder gives better results.
Final Thoughts:
It’s not as hard as it would appear to learn how to manufacture chocolate at home. You can make exquisite chocolate that can compete with store-bought varieties with just a few ingredients and easy techniques. The options are unlimited, regardless of your preference for milk, dark, or flavored chocolate.
You will soon be creating your own signature chocolates if you start with the basic procedure and practice a few times. Chocolate is one of those homemade sweets that always have a unique touch.