How to Make Kimchi at Home
More than just a side dish, kimchi is the focal point of Korean cooking and a universal representation of fermented food culture. Kimchi has won a permanent position in kitchens all over the world thanks to its potent flavors, fiery kick, and amazing health benefits. Making kimchi at home is surprisingly easy and incredibly satisfying, despite the fact that it may initially seem daunting.
Compared to store-bought kimchi, homemade kimchi tastes fresher, more colorful, and far more customizable. You have control over the vegetables, fermentation period, saltiness, and degree of spice. This post will teach you everything you need to know to produce authentic, delectable kimchi at home, from ingredients and preparation to fermentation advice and storage.
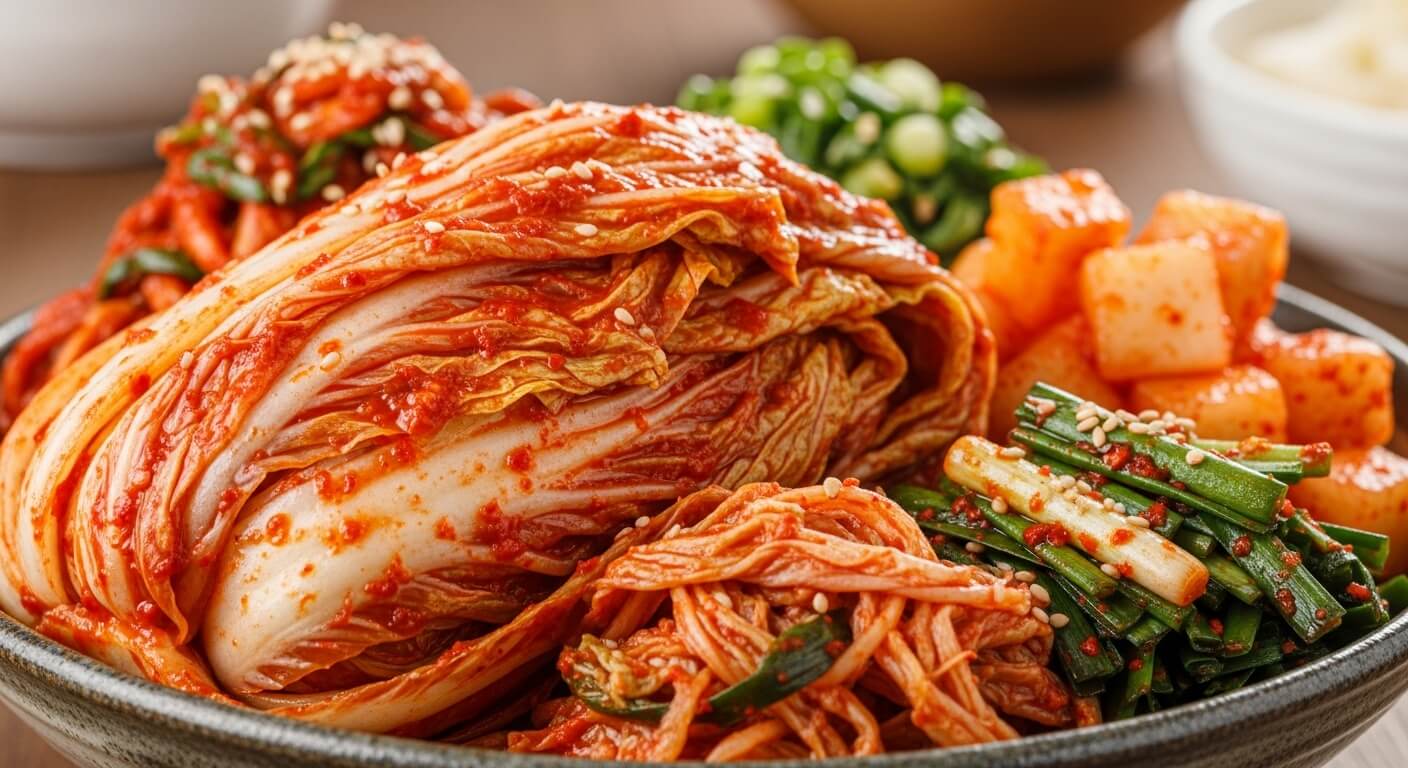
What Is Kimchi?
The main ingredients of kimchi, a classic fermented Korean meal, are veggies, salt, condiments, and spices. Although there are hundreds of regional and seasonal variations created with radish, cucumber, scallions, mustard greens, and other ingredients, Napa cabbage kimchi (Baechu Kimchi) is the most well-known type.
Fermentation is the source of kimchi’s magic. Natural bacteria transform the sugars in the veggies into lactic acid, which both preserves and gives kimchi its distinctive acidic flavor. This procedure increases nutritional value while also improving taste.
Why Make Kimchi at Home?
There are various benefits of making kimchi at home:
Freshness: The flavor of homemade kimchi is cleaner and more vibrant.
Customization: Modify the fermentation, salt, garlic, and spice to suit your tastes.
Benefits to health: No additives or preservatives.
Cost-effective: Far less expensive than purchasing high-quality kimchi.
Cultural encounter: You establish a connection with a long-standing culinary custom.
It’s difficult to switch back to store-bought kimchi after trying homemade kimchi.
Essential Ingredients for Kimchi:
It’s crucial to comprehend the function of each ingredient before understanding how to produce kimchi.
1. Main Ingredients:
Napa: The base of traditional kimchi is napa cabbage. Seasoning is effectively absorbed by its delicate leaves.
Salt: Used to extract moisture and establish the ideal conditions for fermentation.
Water: To soak and rinse the cabbage.
2. Kimchi Seasoning (Yangnyeom):
Gochugaru, or Korean red chili flakes: Provides depth, color, and heat.
Garlic: necessary for a strong flavor.
Ginger: Provides balance and warmth.
Fish sauce or salted shrimp: Umami is provided by this, which can be used in place of vegetarian options.
Paste made from sugar or rice flour: Promotes fermentation and counteracts spice.
Green onions: have a light taste and a fresh scent.
Radish: Provides sweetness and crunch.
Balance is crucial because each component has a significant function to perform.
A Complete Step-by-Step Guide to Make Kimchi:
Step 1: Preparing the Cabbage
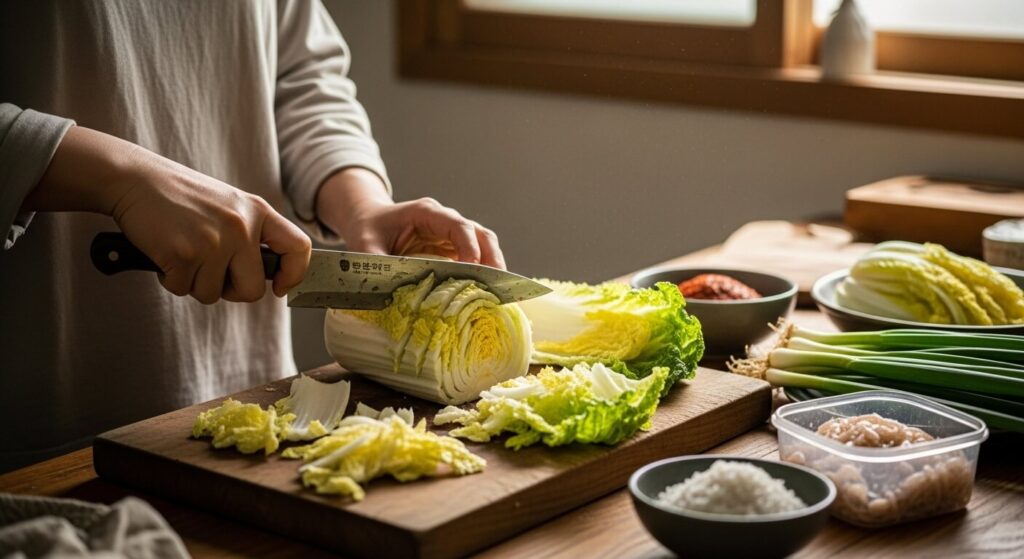
Salting the cabbage is the first step in creating kimchi because it softens the leaves and gets rid of extra moisture.
- Cut the napa cabbage into quarters lengthwise.
- Give it a quick water rinse.
- Focus on the thicker white sections and liberally sprinkle salt in between the leaves.
- After putting the cabbage in a big bowl, let it sit for two to four hours.
- To guarantee uniform salting, turn the cabbage every half an hour.
Suggestion: The cabbage should be pliable but not mushy when it is ready.
Step 2: Rinsing and Draining
After the cabbage has been appropriately salted:
- To get rid of extra salt, rinse it under cold water two or three times.
- For at least half an hour, completely drain in a colander.
Warning: Too much salt will spoil your kimchi’s flavor.
Step 3: Making the Kimchi Paste
Kimchi’s bold characteristic comes from the paste.
- In a bowl, mix together:
1. Gochugaru
2. Garlic, minced
3. Grated ginger
4. Fish sauce (or a vegetarian substitute)
- Cooled rice paste or sugar
- Stir until a thick, red paste is formed.
- Add chopped green onions and sliced radish.
- Until everything is thoroughly coated, stir.
Suggestion: Taste the paste; it should be strong, savory, spicy, and somewhat sweet.
Step 4: Mixing the Kimchi

- To prevent your hands from becoming irritated by chili, put on gloves.
- Between each cabbage leaf, gently distribute the paste.
- Ensure that each layer is coated uniformly.
Fact: To guarantee uniform seasoning, this stage is typically completed by hand.
Step 5: Packing the Kimchi
- Transfer the seasoned cabbage to a sterile glass jar or container for fermentation.
- To eliminate air bubbles, firmly press down.
- A minimum of one to two inches should be left at the top.
Fact: Safe and uniform fermentation is ensured by proper packing.
Step 6: Fermentation Process
Kimchi really comes to life during fermentation.
1. Fermentation at Room Temperature:
- For one to three days, let the jar sit at room temperature.
- To discharge gas, open the lid once a day.
Suggestion: To keep an eye on sourness, taste it every day.
2. Fermentation in a refrigerator:
- Transfer the kimchi to the refrigerator once it has fermented to your desired level.
- Over several weeks, flavor continues to gradually develop.
Short fermentation results in crispier, fresher kimchi.
Long fermentation results in a tangier, richer flavor.
How Long Does Kimchi Last?
When kept in the refrigerator as directed:
- Fresh kimchi is kept for one to two months.
- Kimchi that has matured properly can last three to six months.
Fact: Pancakes, kimchi stew, and kimchi fried rice are all made with older kimchi.
Common Mistakes to Avoid:
If you’ve never made kimchi before, steer clear of these mistakes:
- Adding too much salt to the cabbage
- Ignoring fermentation
- Using ordinary chili powder rather than gochugaru
- Inadequately draining cabbage
- Tightly sealing the jar
The secret to making kimchi successfully is patience and cleanliness.
Health Benefits of Kimchi:
For good reason, kimchi is frequently referred to as a “superfood.”

- Packed with probiotics
- Promotes intestinal health
- Strengthens the immune system
- Rich in minerals and low in calories
- Includes vitamins A, B, and C as well as antioxidants.
Best Point: Frequent consumption can enhance general health and digestion.
Vegan and Vegetarian Kimchi Options:
Fish sauce is frequently used in traditional kimchi, but plant-based alternatives are simple to prepare.
Replace the fish sauce with:
- Soy sauce
- Tamari
- Miso paste
- Broth made with seaweed
Different Types of Kimchi You Can Try:
Once you are proficient in making kimchi, experiment with different types:
- Kkakdugi: Cubed radish kimchi
- Oi Sobagi: Stuffed cucumber kimchi
- Baek Kimchi: White, non-spicy kimchi
- Chonggak Kimchi: Ponytail radish kimchi
Each has a distinct flavor and texture of its own.
Tips for Perfect Homemade Kimchi:
- Use clean utensils at all times.
- Taste at each step
- Gradually adjust the spice
- Make use of ceramic or glass containers.
- Put dates of fermentation on jars.
Don’t be scared to try new things since kimchi becomes better with practice.
Can I make kimchi without fish sauce?
For vegan kimchi, soy sauce, miso, or seaweed broth can be used in place of fish sauce.
How spicy is traditional kimchi?
Although the heat level of traditional kimchi is easily adjustable, it is somewhat hot.
How do I know when kimchi is ready to eat?
When kimchi has a tangy aroma and a little sour taste, it’s ready.
Why does kimchi bubble during fermentation?
Natural gasses generated during fermentation cause bubbling.
Final Thoughts:
Making kimchi at home is a satisfying culinary adventure that blends creativity, science, and tradition. You can make a very tasty, probiotic-rich dish that elevates every meal with basic ingredients and perseverance.
Homemade kimchi is incredibly satisfying, whether you prefer it crisp and fresh or acidic and deeply fermented. Kimchi becomes more than just a condiment once you prepare it yourself; you’ll always want it in your refrigerator.