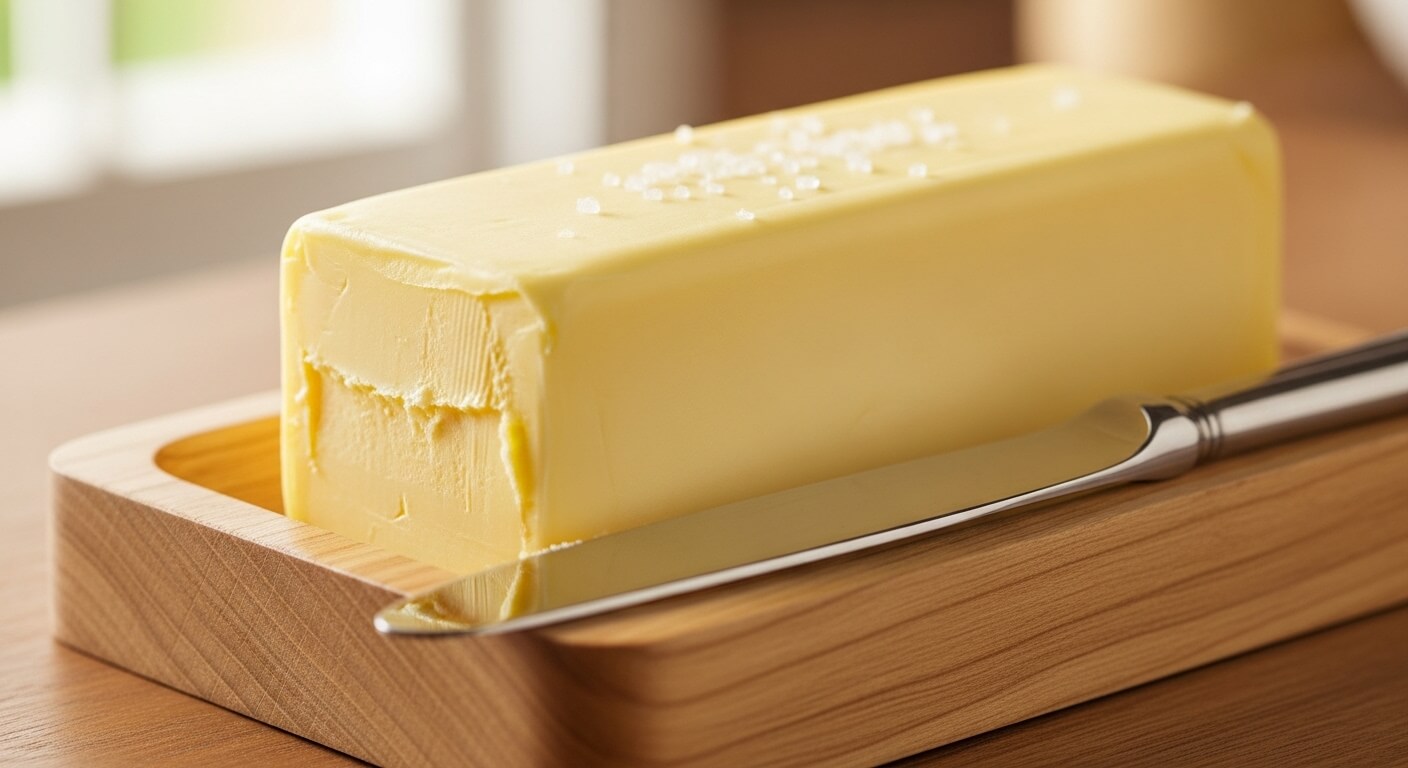
How to Make Homemade Butter: A Complete Step-by-Step Guide
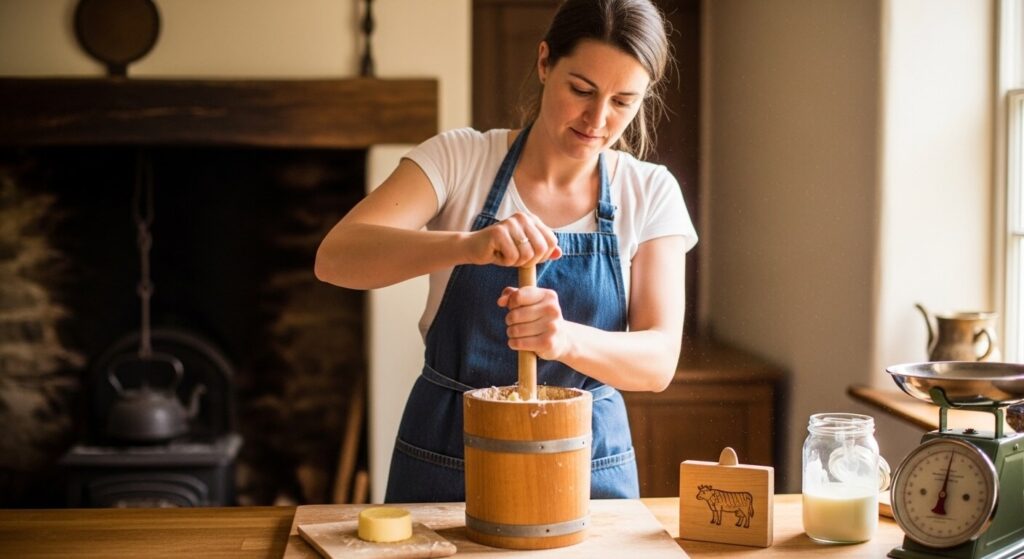
Although it may seem archaic, making butter at home is one of the easiest and most fulfilling culinary skills you can acquire. You can make fresh, rich, and savory butter that tastes much better than most store-bought varieties with just one primary ingredient: cream. You’ll see why so many people are going back to this old-fashioned approach once you give it a try.
Everything you need to know is covered in this book, from molding and preserving your butter to selecting the best cream.
What is Butter?
Cream is churned until the fat separates from the liquid to become butter. Buttermilk is the liquid that remains after the fat solidifies into butter. Many tribes have been using this natural process for ages.
Whether you like it salted, unsalted, or flavored with herbs, homemade butter is free of preservatives and can be tailored to your preferences.
Ingredients You’ll Need:
The simplicity of butter-making is its best feature.
- Fresh heavy cream (ideally full-fat, with 30–40% fat)
- An optional pinch of salt
That’s all. No complex additions or components.
Tools Required:
You don’t need any special equipment, but these tools will help:
- A mixing bowl
- A hand mixer, stand mixer, or blender (or a jar if doing it manually)
- A strainer or cheesecloth
- A spatula
- Cold water
- A container for storage
Step-by-Step Process to Make Homemade Butter:
1. Choose the Right Cream:
- Start with premium heavy cream.
- The finest flavor will come from fresh cream.
- Use non-ultra-processed cream if at all possible.
2. Adjust the room temperature with cream:
- Give the cream fifteen to twenty minutes to sit out.
- Cold cream churns more slowly than slightly warmer cream.
3. Begin whipping:
Transfer the cream to a bowl and start whisking at a medium speed.
- It will first become whipped cream.
- If you keep mixing, it will get thicker.
- The fat will separate after a few more minutes.
You’ll see a liquid separating and yellow butter solids developing. Buttermilk is that liquid.
4. Keep buttermilk and butter apart:
- Use a sieve or cheesecloth to sift the mixture after the butter has clumped together.
- You may use the buttermilk in baking or cooking, so save it.
5. Clean the Butter:
- For freshness, this step is crucial.
- Using a spatula or your hands, carefully massage the butter into a dish of cold water.
- Until the water runs clean, drain the water and repeat.
- This eliminates any remaining buttermilk, which could hasten the butter’s deterioration.
6. Add salt (if desired):
- Add a pinch of salt and knead the butter equally if you prefer salted butter.
7. Form and Store:
- Form the butter into a roll, a block, or any other shape you like.
- Keep it refrigerated in an airtight container.
How Long Does It Take?
Using a mixer, the complete procedure typically takes ten to fifteen minutes. It can take 20 to 30 minutes if you’re doing it by hand, such as shaking in a jar.
Tips for Perfect Homemade Butter:
- Use fresh cream: Fresh cream tastes better.
- Continue until separation occurs; don’t stop at whipped cream.
- Wash well to extend shelf life.
- Adjust the amount of salt to suit your preferences.
- After separation, avoid overmixing since it may alter texture.
Different Methods to Make Butter:
1. Using a blender:
- The quickest and simplest approach. Perfect for novices.
2. Using a Jar:
- Fill a jar with cream, cover it, and shake constantly until butter develops. Although it takes work, this approach is enjoyable.
3. Using a Blender:
- Fast and effective, but you must exercise caution to prevent overprocessing.
Types of Homemade Butter:
1. Butter without salt:
- pure butter without any additional salt. Perfect for baking.
2. Butter with salt:
- adds salt to improve flavor and extend shelf life.
3. Butter Cultured:
- made with fermented cream, which gives it a hint of acidity.
4. Butter with flavor:
- To make interesting spreads, combine honey, garlic, and herbs.
Nutritional Value of Homemade Butter:
Butter is rich in:
- Healthy fats
- Fat-soluble vitamins like A, D, E, and K
- Natural energy
While it’s nutritious, it should be consumed in moderation due to its high fat content.
Common Mistakes to Avoid:
- Low-fat cream will not adequately create butter.
- Ignoring the washing stage causes spoiling to occur more quickly.
- Taste and texture are impacted by overheating the cream.
- Excessive salt addition can overshadow the flavor.
How to Store Homemade Butter?
- Store in the fridge for a maximum of one to two weeks.
- Freeze for a maximum of two to three months.
- To avoid absorbing odors, store in an airtight container.
Can You Freeze Homemade Butter?
Butter does indeed freeze rather well. Wrap it tightly in plastic or store in a sealed container. Before using, thaw in the fridge.
Uses of Homemade Butter:
Homemade butter is incredibly versatile. You can use it for:
- Spreading on bread or toast
- Cooking vegetables
- Baking cakes and cookies
- Making sauces
- Adding richness to dishes
Why Make Butter at Home?
There are various benefits:
- Improved flavor and freshness
- No chemicals or preservatives
- Adaptable tastes
- economical in certain situations
- An enjoyable and fulfilling procedure
Homemade Butter vs Store-Bought Butter
| Feature | Homemade Butter | Store-Bought Butter |
| Taste | Fresh and rich | Standardized |
| Ingredients | Natural | May include additives |
| Customization | Yes | Limited |
| Shelf Life | Shorter | Longer |
1. Can I make butter from milk?
No, butter is made from cream, not directly from milk.
2. What is the leftover liquid after making butter?
It’s called buttermilk and can be used in recipes.
3. Why is my butter too soft?
It may need more washing or cooling.
4. Can I make butter without a mixer?
Yes, you can shake cream in a jar.
5. How do I know butter is ready?
When fat separates from liquid and forms solid clumps.
Final Thoughts:
Making butter at home is a straightforward yet satisfying process. It allows you total control over what you eat and links you with a traditional technique of food preparation. You can make something tasty, fresh, and far better than many boxed options with simply cream and a little work.
You might never want to use store-bought butter again after giving it a try. Try a variety of flavors, use it into your cooking, and relish the delight of creating something from scratch.