How to Make Self-Rising Flour at Home
One of those basic kitchen essentials that can subtly improve your baking is self-rising flour. You may have wondered what makes self-rising flour different from ordinary flour if you’ve ever followed a recipe for biscuits, pancakes, or quick breads and observed that it called for it. Fortunately, you don’t have to rush to the store each time it’s featured. With things you most likely already have, you can prepare it yourself in a matter of minutes.
This book explains all you need to know, including what self-rising flour is and how to produce it flawlessly every time, along with helpful hints, variants, and typical mistakes to avoid.
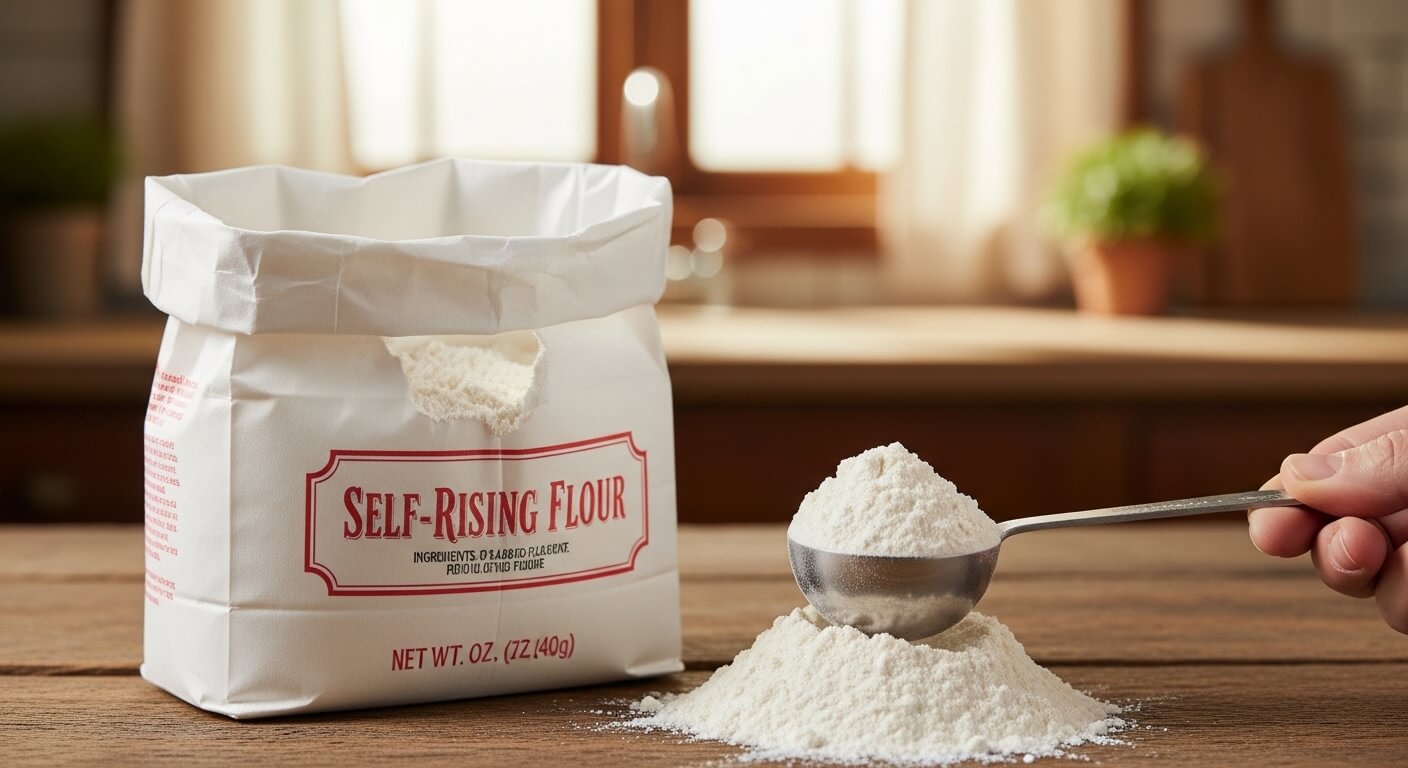
What Is Self-Rising Flour?
Three basic ingredients are pre-mixed to create self-rising flour:
- All-purpose flour
- Powder for baking
- Salt
Convenience is the concept behind it. Everything is already mixed in the proper ratios rather than being measured out individually. This makes it particularly helpful for recipes like biscuits, muffins, pancakes, and some cakes that depend on steady rising.
It’s crucial to understand that normal flour and self-rising flour are not the same. As a leavening agent, the additional baking powder helps baked foods rise and become fluffy and light.
Why Make Self-Rising Flour at Home?
You should make your own for a number of reasons:
1. Practicality:
- Purchasing a separate bag for a single batch is not necessary.
2. Newness:
- Since baking powder weakens with time, homemade blends may be fresher.
3. Authority:
- You can use particular kinds of flour, such as whole wheat or gluten-free varieties, or change the amount of salt.
4. Economical:
- Compared to purchasing pre-made self-rising flour, it is less expensive.
The Basic Recipe of Self-Rising Flour:
Making self-rising flour is incredibly simple. The standard ratio is:
- 1 cup all-purpose flour
- 1½ teaspoons baking powder
- ¼ teaspoon salt
Step-by-Step Instructions:
- Take meticulous measurements of the flour.
- Fill and level your measuring cup with a spoon. To avoid packing the flour too tightly, do not scoop straight from the bag.
- Put some baking powder in.
- Verify the freshness of your baking powder. Your flour won’t rise correctly if it’s outdated.
- Add salt.
- This balances the mixture and improves flavor.
- Mix well.
- Mix all the ingredients until they are equally incorporated. To improve distribution, you can also sift the mixture.
That’s all. You can now utilize your homemade self-rising flour.
Scaling the Recipe:
Just increase the ingredients if you need more than one cup:
- Two cups flour, three tablespoons baking powder, and half a teaspoon salt
- 4½ teaspoons baking powder → ¾ teaspoon salt → 3 cups flour
Maintaining the same ratio at all times is crucial.
Tips for Best Results:
1. Make Use of Fresh Ingredients:
- Over time, baking powder becomes less effective.
- Try adding a small amount to warm water if you’re not sure. It ought to fizz right away.
2. Mix thoroughly:
- When baking, uneven mixing might provide unpredictable outcomes.
- While some portions remain dense, others might rise.
3. For a Light Texture, Sift:
- Sifting the mixture aids in distributing the ingredients evenly and aerating the flour.
4. Store Correctly:
- If you’re producing a bigger quantity, keep it somewhere dry and cool in an airtight container.
Variations You Can Try:
1. Self-Rising Whole Wheat Flour:
Use the same ratio when substituting whole wheat flour for all-purpose flour. Remember that baked items made with whole wheat flour are denser.
2. Version Without Gluten:
Use the same amounts with a gluten-free flour blend. Verify the gluten-free status of your baking powder.
3. Low-Sodium Choice:
If you’re managing your sodium consumption, cut back on or avoid the salt.
Common Mistakes to Avoid:
1. Making Use of Old Baking Powder:
This is the most prevalent problem. Your flour won’t get the lift it requires from expired baking powder.
2. Inaccurate measurements:
While using too little baking powder can result in flat baked items, using too much can produce a bitter taste.
3. Improper Mixing:
Your outcomes will change from bite to bite if the ingredients aren’t mixed uniformly.
4. Making Use of Incorrect Flour:
Unless the recipe expressly permits alternatives, stick to all-purpose flour.
When to Use Self-Rising Flour:
For recipes that use chemical leavening rather than yeast, self-rising flour is perfect. Among them are:
- Biscuits
- Pancakes
- Muffins
- Quick breads
- Some cakes
Unless you modify the ingredients appropriately, it is not appropriate for recipes that already call for a certain amount of baking soda or powder.
Substituting Self-Rising Flour in Recipes:
You can use your homemade version straight if a recipe calls for self-rising flour but you only have all-purpose flour.
Baking powder and salt must be added separately if you’re switching from self-rising flour to regular flour.
Storage and Shelf Life:
If stored in an airtight container, homemade self-rising flour can be preserved for up to six months. However, try to use it within one to three months for optimal benefits.
Keep it:
- Away from moisture
- In a cool, dry place
- Sealed tightly
You can even label the container with the date you made it.
How It Works: The Science Behind It
Baking powder is what gives self-rising flour its magic. An acid and a base are combined in baking powder. It releases carbon dioxide gas when it comes into touch with heat and moisture.
The dough or batter rises as a result of these tiny gas bubbles expanding during baking. This is the reason baked items have a fluffy, soft texture.
Salt has a minor yet significant impact. It improves the dough’s flavor and fortifies its structure.
Practical Uses in Everyday Cooking:
There are several uses for self-rising flour once you start creating your own:
1. Fast Breakfasts:
Waffles and pancakes become simpler to make.
2. Snacks:
Making simple biscuits or muffins takes only a few minutes.
3. Baking in an emergency:
This mixture saves time and effort if you don’t have any baking supplies.
1. What is self-rising flour made of?
Self-rising flour is a mix of all-purpose flour, baking powder, and salt.
2. Can I make self-rising flour at home?
Yes, just combine 1 cup flour, 1½ teaspoons baking powder, and ¼ teaspoon salt.
3. Is self-rising flour the same as all-purpose flour?
No, self-rising flour already contains leavening and salt, while all-purpose flour does not.
4. Can I substitute all-purpose flour for self-rising flour?
Yes, but you must add baking powder and salt to match the recipe.
5. How long does homemade self-rising flour last?
It can last up to 6 months if stored properly, but it’s best used within 1–3 months.
Final Thoughts:
Although it’s one of the simplest kitchen skills to acquire, making self-rising flour at home has a significant impact on your baking. You can make a dependable, fresh substitute for store-bought versions with just three ingredients and a few minutes of your time.
Additionally, it allows you to experiment with different flours, modify flavors, and steer clear of superfluous additions, giving you more control over your recipes. You won’t probably need to buy it again after you become accustomed to making it yourself.
This easy recipe will save you time, money, and a last-minute trip to the store if you bake at all.